Rigging - The kicker
Draycote Water
Fireball Fleet Open Meeting
2024 Review Race Results Joining the
Fleet Buying
a boat Rigging,
Articles & Info Scrap
Book Calendar Draycote
Water

All sailing boats have a kicking-strap to hold the boom down. This is to stop the boom from going up in the air, thereby ruining the airfoil shape of the mainsail. On a Fireball we can also use the kicker to bend the mast, thereby flattening the top of the sail. We like to do this when we are sailing upwind on a windy day, largely because we will get there quicker that way.

Stopping the boom from going up in the air doesn't take too much effort, and any old bits of rope and a 4:1 purchase will do the job. 
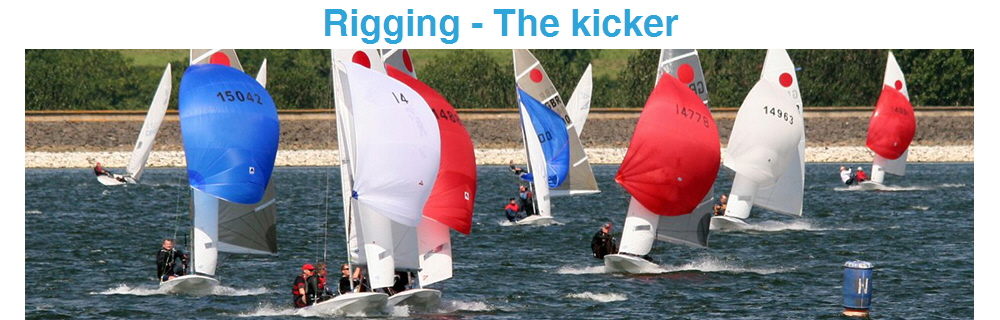
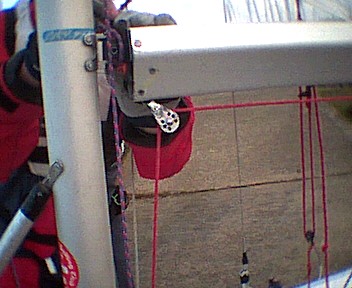
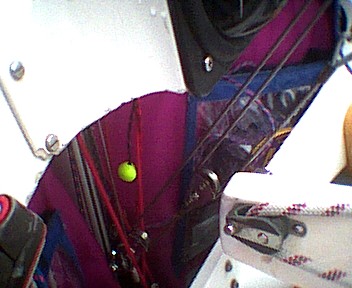
Don't do this if you plan to sail in windy weather or give a damn about your street cred. We are looking to get something around 16:1 purchase on our Fireball boom, and we're not going to get that by using the conventional multiple blocks side-by-side arrangements. Also discard any notion you might have of using a lever - that's just sooo 1980's. You are clearly a discerning geezer with some taste, and what you want is a CASCADE system.

The two most common arrangements are:

Type 1 - suitable for a kicker which is cleated on a single swivelling jammer in the centre of the boat (usually next to the mainsheet jammer)

Picture

A should be a ball-bearing block and be as close to the mast as possible - often mounted directly onto a good solid hook which hooks onto the bracket at the base of the mast.

E should be fixed as close to the boom at the gooseneck end as possible - rope around F should run inside the mast gate, but check that this is feasible before mounting E.

G is fixed to the spine of the boat below the mast - preferably bolted through.

Rope to A (if any) and rope going round A and B should be pre-stretched spectra or the fabulous 3mm D12 or similar.

Type 2 - suitable for a kicker which is cleated with jammers on both sides of the boat.

Picture

A should be a ball-bearing block and be as close to the boom as possible - often mounted directly onto a good solid hook which hooks onto the bracket on the boom.

D and E should be fixed to the sides of the mast above F (shown) and another block on the other side of the spine, bolted through the spine. Where E has F & G, D has identical blocks and ropes on the other side of the spine (not shown).

Rope to A (if any) and rope going round A and B should be pre-stretched spectra or D12 or similar.

Obviously you can devise several cool variations on the above themes. Just bear in mind that when your boom is at its highest desirable height, block B should be trying to go through block A, and C should be trying to go through B.

In type 1, F should hit E at the same moment.

In type 2, G hits F at the same moment.

Because you want your boom to go above this point when you are hoisting the mainsail, the use of a really chunky hook attached to block A is recommended, so you can unhook while rigging. Enjoy !

Type 1 Kicker shots

Pulley at end of the boom.

Picture

First pulley with hook, 2nd pulley and the eye for the 3rd. Note that expensive wire is used instead of spectra or D12 here. D12 would be better.

Picture

Not sure why the pulley and shackle aren't swapped over, but not a bad idea to use two fixing points.

Picture